















Sauna Heating Element Replacement: Find the Right Part Fast
Most electric sauna heating elements are replaceable, and the repair is often straightforward when you match three things precisely: voltage, wattage, and physical fit. Before ordering any part, pull the heater’s nameplate and record the model number, total kW rating, voltage (120V or 240V), and whether the circuit is single-phase or three-phase. Then measure the existing element’s overall length, coil length, terminal thread size, and mounting flange diameter. Photograph everything before you touch a wire.
Quick compatibility checklist before you order:
- Model and part number from the heater nameplate
- Wattage per element (not total heater wattage if it has multiple elements)
- Voltage (most residential U.S. sauna heaters run on 240V)
- Phase (single-phase vs. three-phase)
- Element length and shape (coil, loop, or cartridge)
- Terminal type (thread size, stud diameter, connection style)
Pro Tip: Photograph the nameplate, the full heater interior with stones removed, and a close-up of each element terminal before ordering. Send those photos to your parts supplier to confirm compatibility before checkout.
If the replacement requires any wiring work beyond reconnecting the same terminals, prioritize a licensed electrician. A sauna heating element replacement done with the wrong part or live wiring is a safety hazard, not a cost-saving shortcut.
Key Takeaways
Matching voltage, wattage, and physical dimensions to OEM specifications is the single most important step in a successful sauna heating element replacement.
| Point | Details |
|---|---|
| Match three specs before ordering | Voltage, wattage per element, and physical dimensions (length, thread, flange) must match OEM exactly. |
| Element lifespan is 2–7 years | Daily-use heaters trend toward 2–3 years; occasional-use heaters can reach 5–7 years before failure. |
| Multimeter test confirms the fault | Test terminal-to-terminal resistance and terminal-to-ground before and after installation; OL = open circuit failure. |
| Know the DIY limit | Single-element swaps with clean wiring are DIY-appropriate; multi-element failures or corroded terminals require a licensed electrician. |
| Saunaheatersupply verifies compatibility | Send nameplate photos and measurements to confirm the correct OEM-matching element before checkout. |
Table of Contents
- How do you identify the correct replacement heating element?
- Tools, electrical safety, and code requirements before you start
- Step-by-step replacement walkthrough for homeowners
- How to test a heating element and troubleshoot common problems
- What does a replacement element cost, and where do you buy one in the U.S.?
- How Saunaheatersupply supports parts selection and OEM matching
- When DIY makes sense and when it does not
- Saunaheatersupply stocks the parts and support you need
- Sources
How do you identify the correct replacement heating element?
Getting the right part starts with the heater nameplate, not a web search. The nameplate is typically mounted on the heater body or inside the control panel cover, and it contains every specification a parts supplier needs to match your element.
What to copy from the nameplate:
- Manufacturer name and model number
- Serial number (some manufacturers use this to identify production-year spec changes)
- Total heater wattage (kW) and voltage
- Number of elements (so you can calculate per-element wattage)
- Phase designation (1PH or 3PH)
What to measure on the element itself:
- Overall element length from mounting flange to tip
- Exposed coil or loop length
- Element tube diameter
- Terminal stud diameter and thread pitch
- Mounting flange outer diameter and bolt pattern
Replacement elements can have small dimensional differences across model years. As noted in the Sauna Craft element replacement documentation, some manufacturers have redesigned elements with minor dimensional changes while keeping terminal and torque specs compatible. That means a part that looks identical in a catalog photo may require gentle fitting in an older heater body.
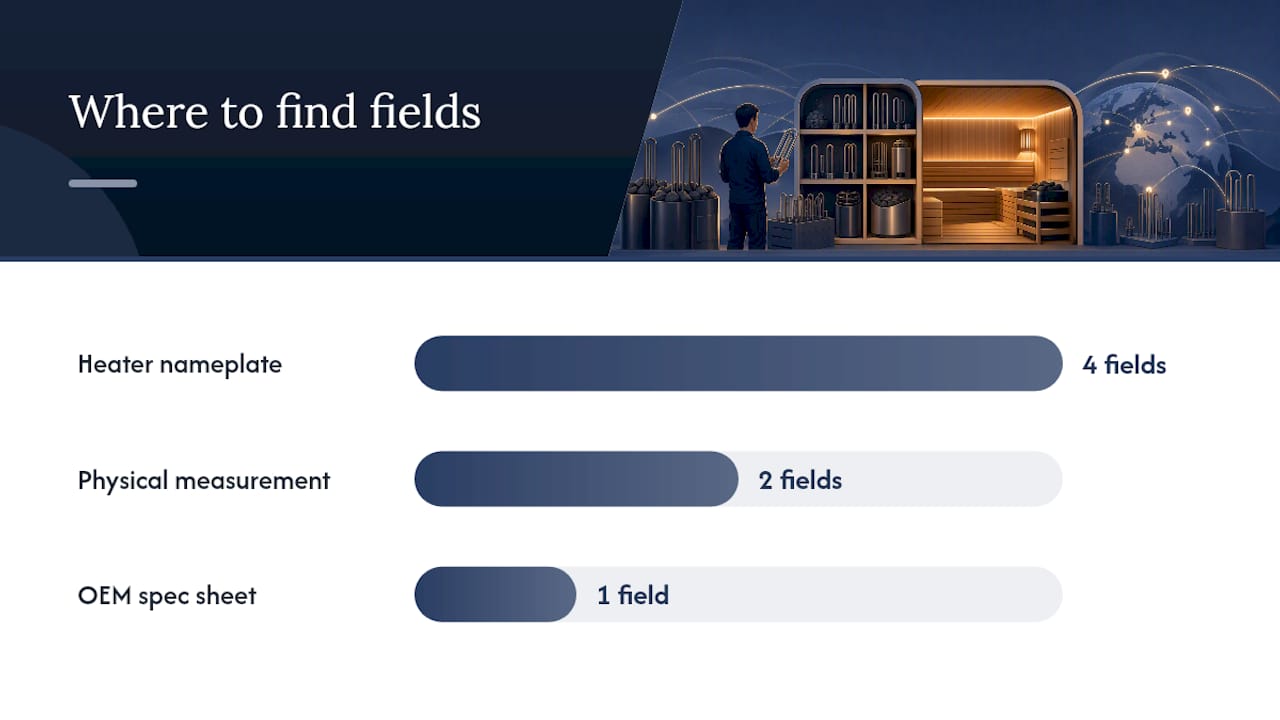
| Field to Record | Where to Find It |
|---|---|
| Model / part number | Heater nameplate |
| Voltage (V) | Heater nameplate |
| Wattage per element (W) | Nameplate ÷ number of elements |
| Element length (inches) | Physical measurement |
| Terminal thread size | Physical measurement or OEM spec sheet |
| Phase (1PH / 3PH) | Heater nameplate |
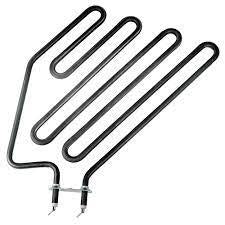
OEM vs. aftermarket: OEM elements guarantee thread compatibility, correct wattage per element, and control system compatibility. Aftermarket elements can work and often cost less, but verify that the voltage, wattage, thread pitch, and physical dimensions match exactly. A wattage mismatch stresses the control board; a thread mismatch causes leaks or poor contact at the terminal.
Pro Tip: If your heater has multiple elements and one has failed, check whether the manufacturer sells elements individually or only as a set. Some models require replacing all elements in a bank simultaneously for balanced performance.
Tools, electrical safety, and code requirements before you start
Working on a 240V sauna heater is not the same as replacing a light switch. Fixed electric sauna heaters fall under NEC Code 70 requirements for fixed electric heating equipment, which mandate a dedicated circuit, correctly sized breaker and conductors, and appropriate protection devices. Any work that touches the circuit, breaker, or terminal block should involve a licensed electrician.
Essential tools for element replacement:
- Non-contact voltage tester (verify power is off before touching anything)
- Digital multimeter (resistance and continuity checks)
- Insulated screwdrivers and socket set
- Wire markers or masking tape and a marker
- Torque screwdriver or wrench (for terminal screws)
- Heat-resistant gloves and safety glasses
- Camera or phone (document wiring before disconnecting)
Critical safety steps in order:
- Turn off the heater at the control panel.
- Shut off the dedicated breaker at the electrical panel.
- Apply lockout/tagout if others have access to the panel.
- Wait at least 30 minutes for elements and rocks to cool completely.
- Confirm zero voltage at the heater terminals with a non-contact tester before proceeding.
Code note: U.S. electric sauna heaters typically require a dedicated 240V circuit sized to the heater’s kW rating. A general sizing reference suggests about 1 kW per a moderate volume of sauna space, as outlined in heater sizing guidance for homeowners. GFCI and high-limit devices are part of the safety chain; do not bypass or remove them. If the high-limit switch has tripped, identify and fix the root cause before resetting it.
Pro Tip: Before disconnecting any wires, take a clear photo of every terminal connection and label each wire with tape and a marker. Miswiring on reassembly is the most common cause of a new element failing to heat.
Step-by-step replacement walkthrough for homeowners
This procedure applies to a single-element swap on a heater where the circuit and control wiring are intact and undamaged. Stop and call a licensed electrician if you find corroded terminals, damaged insulation, or multiple failed elements.
-
Prepare. Confirm the replacement element matches the OEM spec (voltage, wattage, length, thread). Gather all tools. Lock out the breaker. Remove all sauna stones and any element guards or covers.
-
Verify no voltage and document wiring. Use a non-contact voltage tester at the heater terminals. Photograph every wire connection from multiple angles. Label each wire with tape before disconnecting anything.
-
Disconnect and remove the old element. Loosen terminal screws and carefully remove wires. Unthread the element from its mounting point. Note the gasket condition; replace gaskets if they show any cracking or compression set.
-
Install the new element. Seat the new element with fresh gaskets and washers as specified by the manufacturer. Hand-tighten first, then torque terminal screws to the manufacturer’s specification. Confirm the element coils do not contact the stone guard or heater body.
-
Reconnect wiring and test. Reconnect wires exactly as photographed. Replace all covers and guards. Restack stones (larger stones at the bottom, smaller on top for airflow). Restore power at the breaker and run a short 15-minute test cycle.
Multimeter verification before powering up:
- Set the multimeter to resistance (ohms).
- With power off and wires disconnected, place probes on the element terminals.
- A working element shows a finite resistance reading. An open circuit (OL or infinite) confirms a failed element.
- Test from each terminal to the heater chassis ground; any reading other than OL indicates a short to ground and the element must not be installed.
Resistance sanity check: You can estimate expected resistance using the formula R = V² ÷ W. For a 240V, 1,000W element, expected resistance is approximately 57.6 ohms. A reading far outside that range signals a spec mismatch or a defective part.
According to DIY repair guidance from Sauna Geek, replacing a burned element is a common homeowner repair when only one element has failed and the wiring is clean. The multimeter resistance check and a clear safety lockout are the two steps most often skipped, and both are non-negotiable.
Pro Tip: After the test cycle, remove stones and visually confirm the new element glows evenly. An element that glows only at one end or not at all after a successful resistance test points to a wiring or control issue, not the element itself.
How to test a heating element and troubleshoot common problems
Knowing whether the element is actually the problem saves you from ordering a part you do not need. Most sauna heater failures trace to three components: a burnt heating element, a tripped high-limit switch, or a failing thermostat. Element lifespan commonly ranges from 2–7 years depending on use frequency and water mineral content, with daily-use heaters trending toward the lower end of that range.
Symptoms that point to element failure:
- Sauna heats slowly or not at all, but the control panel shows normal operation
- Visible damage: discoloration, cracks, or a broken coil on the element
- Breaker trips repeatedly during a heat cycle
- One section of the heater is cold while others are warm (partial heat)
Multimeter test sequence:
- Power off and lock out the breaker.
- Remove stones and allow full cool-down.
- Disconnect element wires at the terminals.
- Set multimeter to ohms and test across the two element terminals. OL (open circuit) = failed element.
- Test each terminal to the heater chassis ground. Any reading other than OL = short to ground, replace immediately.
| Test | Expected Result | Failure Indication |
|---|---|---|
| Terminal-to-terminal resistance | Finite ohms (matches R = V²÷W calc) | OL (open circuit) |
| Terminal to chassis ground | OL (no continuity) | Any finite reading |
| Visual glow check (powered, stones removed) | Even glow across full coil | No glow or partial glow |
Troubleshooting if a new element does not heat:
- Check the breaker: a tripped breaker may not be visibly in the off position; flip it fully off, then back on.
- Check the high-limit switch: a tripped high-limit cuts power to the elements. Reset only after identifying the cause (blocked airflow, overstacked stones, failed thermostat).
- Check thermostat and control settings: a thermostat set below current room temperature will not call for heat.
- Verify wiring connections match the pre-removal photos exactly.
- Check stone stacking: Harvia’s guidance on stone maintenance notes that improper stone stacking restricts airflow and causes overheating that trips the high-limit switch.
When multiple elements fail simultaneously, the cause is rarely the elements themselves. Suspect a control board fault, a voltage supply issue, or a wiring problem, and call a technician.
Pro Tip: Before replacing any element, run the heater briefly with stones removed and watch which elements glow. A non-glowing element with a finite resistance reading points to a wiring or control issue upstream, not the element.
What does a replacement element cost, and where do you buy one in the U.S.?
Single replacement elements for residential electric sauna heaters generally cost a moderate amount depending on brand and specifications. Hiring a licensed electrician for installation adds additional labor cost, varying by complexity.
OEM vs. compatible aftermarket:
- OEM elements: Guaranteed fit, correct wattage per element, and no warranty conflicts. The trade-off is higher cost and sometimes longer lead times.
- Compatible aftermarket: Lower price and often faster availability, but requires careful spec verification. Incorrect wattage stresses the control board; a thread mismatch causes poor terminal contact.
Retailers often recommend replacing all elements in a bank at the same time. Partial replacement can lead to uneven heating as the older elements degrade at a different rate than the new one.
Purchase checklist before checkout:
- Voltage matches exactly (120V or 240V)
- Wattage per element matches OEM spec
- Thread/mount type confirmed against your measurements
- Return policy covers compatibility issues
- Seller offers photo-based compatibility verification
- Shipping time meets your timeline
Spa and hospitality operators managing multiple sauna installations, like those at wellness destinations, benefit from sourcing elements from a single supplier who can verify compatibility across heater models and provide consistent lead times.
Disposal of old elements: Sauna heating elements are metal components (typically stainless steel or Incoloy). Most municipal metal recycling programs accept them. Check with your local recycling facility; do not dispose of elements in standard household waste.
How Saunaheatersupply supports parts selection and OEM matching
Saunaheatersupply stocks OEM and compatible replacement elements alongside full heater packages, giving U.S. customers a single source for parts, spec verification, and compatible accessories. The support team works from photos and nameplate details to confirm compatibility before an order ships, which eliminates the most common ordering mistake: buying an element that is dimensionally close but not correct.
What Saunaheatersupply offers for replacement needs:
- OEM part numbers and spec sheets for supported heater models
- Photo-based compatibility help (send nameplate photo + element measurements)
- Wiring diagrams available for supported models
- Element kits and individual elements with U.S. shipping
- Price-match guarantee and a return policy that covers compatibility issues
Stocked product pages relevant to replacement and upgrade decisions:
- Harvia Kip45W Heater Package wifi w/stones: a complete Harvia package for homeowners who need a full heater replacement rather than a single element swap
- IKI Pillar 9kW with wifi controller glass: high-capacity option for larger sauna rooms
- Saunum Air 7 Sauna Heater Package: mid-range package with integrated air management
- Finnmark Thermo-Aspen Combination Barrel Sauna FD-7 and Finnmark Cedar Combination Barrel Sauna FD-6: barrel sauna kits for homeowners considering a full system upgrade
- Saunum Air L 15 Package: for larger installations requiring higher wattage
- Temperature Probe for iSteam, AirTempo, iTempo, and iTempoPlus Controls: sensor accessory for verifying control compatibility after element replacement
For readers using steam shower controls, the iSteamX Steam Shower Control and Steamhead page covers compatible sensor and control accessories.
Pro Tip: When contacting Saunaheatersupply for parts matching, send the nameplate photo, your element measurements, and a photo of the terminal block. That combination gives the support team everything needed to confirm the correct part on the first order.
When DIY makes sense and when it does not
The mechanical side of a single-element swap is genuinely manageable for a homeowner who is comfortable with basic electrical safety. Remove stones, lock out the breaker, verify zero voltage, swap the element with matched gaskets, reconnect wires from your photos, restack stones, and test. That sequence, done carefully, is within reach for most sauna owners.
The threshold for calling a licensed electrician is specific. A single element with visible failure, clean wiring, and intact terminals is a DIY candidate. Multiple elements failing at once, corroded terminal blocks, damaged insulation, or any fault in the control board or high-limit wiring is not. Those situations involve 240V circuit work that NEC requirements assign to qualified personnel, and the risk of miswiring a multi-element heater is real enough that the labor cost is worth it.
One point that often gets overlooked: using OEM-spec parts preserves the manufacturer warranty. Some manufacturers void coverage if non-OEM elements are installed. Check the warranty terms before choosing aftermarket, particularly on heaters still within their coverage period. The ultimate guide to choosing the best types of sauna heater covers heater sizing and compatibility considerations that apply equally when deciding between repair and full replacement.
Saunaheatersupply stocks the parts and support you need
Saunaheatersupply is the direct U.S. source for homeowners and contractors who need replacement elements matched to their exact heater spec, without the guesswork of ordering from a generic parts catalog. The team verifies compatibility from your photos and nameplate details, ships fast within the U.S., and backs every order with a price-match guarantee.
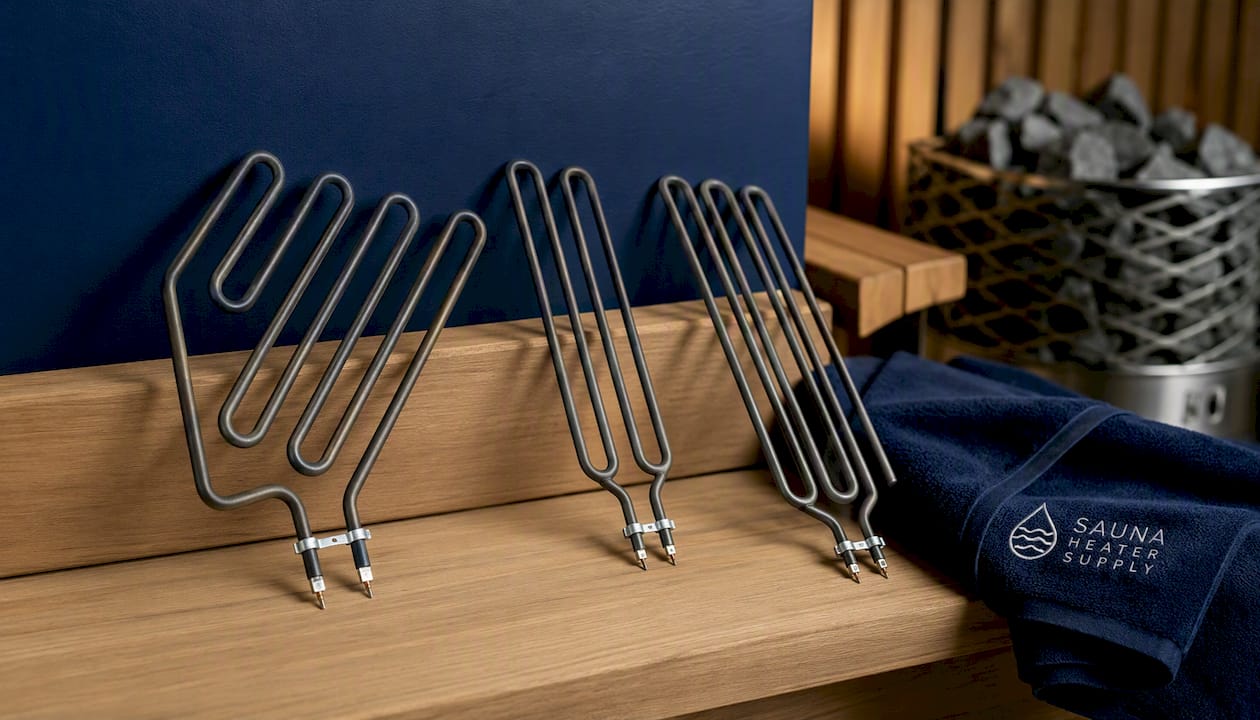
Whether you need a single replacement element, a full element kit, or a complete heater package because the repair no longer makes financial sense, Saunaheatersupply has the inventory and the expertise to get you the right part. Check the Harvia Kip45W Heater Package, the IKI Pillar 9kW, or browse the full catalog at Saunaheatersupply. To confirm part compatibility before ordering, contact the support team directly with your nameplate photo and measurements.
Sources
- Sauna Heater Repair Guide 2026: Common Problems, Fixes & When to Call a Pro
- Homesauna
- FAQ about the energy consumption of sauna bathing | Harvia
Keep printed copies of your heater’s spec sheet and wiring diagram with the replacement parts. If a licensed electrician handles the installation, those documents cut diagnostic time and reduce the chance of a miswiring callback.